


Table of Contents
◉ Introduction ◉ Understanding the Basics of After Effects ◉ Essential Techniques for Creating Visual Effects ◉ Step-by-Step Guide to Applying Impactful Effects ◉ Best Practices for Professional Results ◉ Additional Plugins and Resources ◉ Frequently Asked Questions (FAQ) ◉ Conclusion
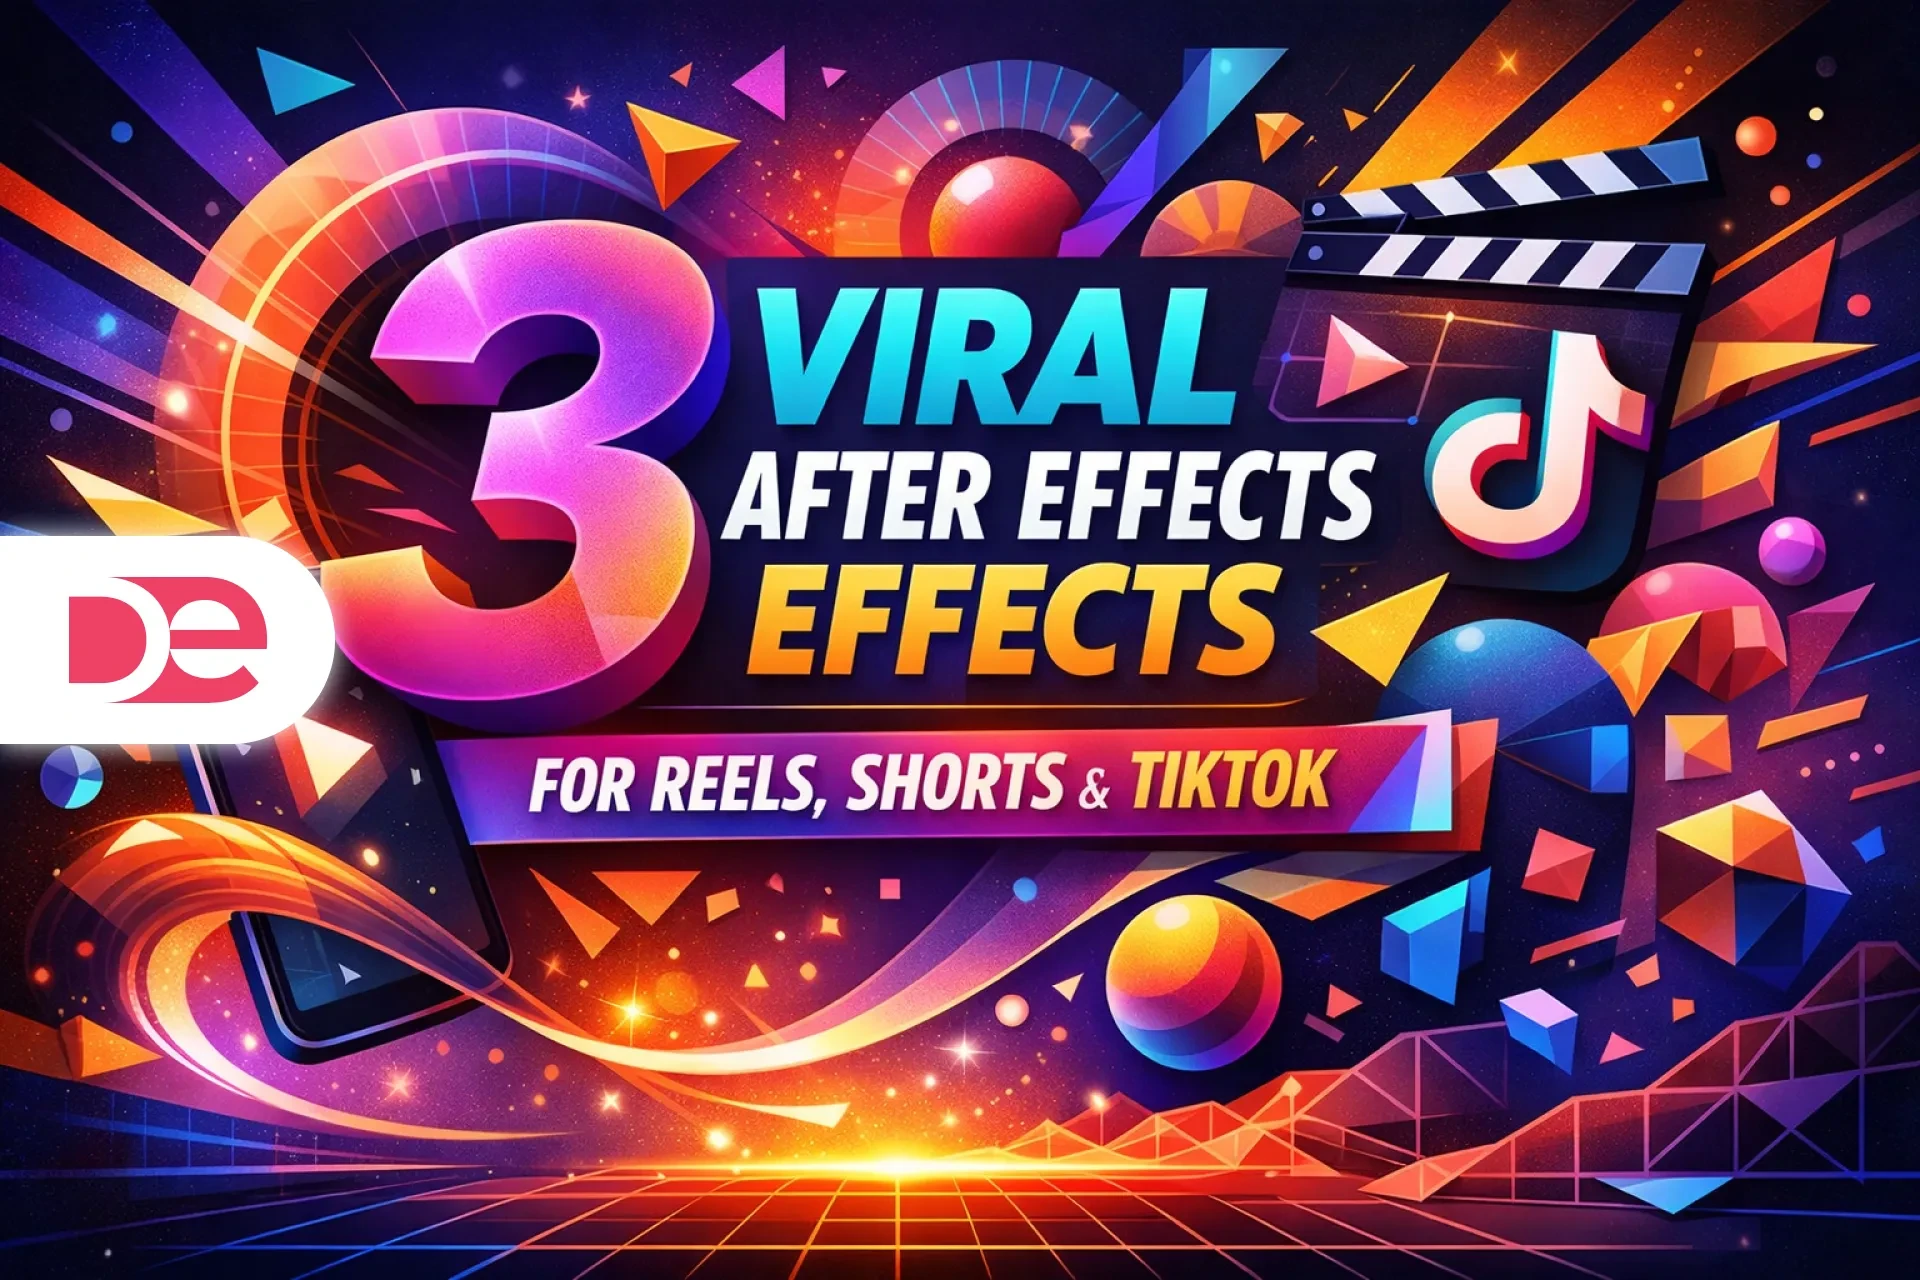
In the world of video production, visual effects (VFX) are essential to create engaging, polished content. Adobe After Effects stands out as a leading tool for designing both subtle enhancements and eye-catching cinematic effects. In this guide, you'll learn core concepts, key techniques, and expert tips to create professional-quality VFX using After Effects.
🎬 Don’t have After Effects yet?
Get the full version FREE for 7 days and follow this tutorial step-by-step.
Download Free Trial
Get the full version FREE for 7 days and follow this tutorial step-by-step.
Download Free Trial
Understanding the Basics of After Effects
Before applying advanced effects, it’s important to master After Effects fundamentals:
• Layers and Composition: Organize and control visual elements in your project.
• Keyframes and Animation: Animate properties over time with precise control.
• Masks and Mattes: Isolate or blend specific areas of footage.
• Effects & Presets Panel: Apply pre-built effects to streamline your workflow.
Tip: Start with short compositions to test techniques before applying them to large projects.
Essential Techniques for Creating Visual Effects
✅ Using Layers and Masks
• Alpha & Luma Mattes: Blend elements smoothly based on brightness or transparency.
• Pen Tool Masks: Manually isolate objects or refine edges.
• Track Mattes: Seamlessly combine foreground and background elements.
✅ Particle Effects
Enhance movement and atmosphere using particles:
• Fire, smoke, and explosions (Trapcode Particular)
• Rain and snow effects
• Sci-fi effects like energy fields or sparks
✅ Transitions and Movement
• Glitch Transitions: Great for tech or gaming content
• Light Leaks & Flares: Add warmth or dramatic ambience
• Morph Cuts & Shape Transitions: For smooth, story-driven edits
✅ Color Correction & Grading
• Use the Lumetri Color Panel for precise grading.
• Curves, Levels, and Hue/Saturation adjust contrast and tone.
• Experiment with LUTs to quickly change mood or style.
Want cinematic results? Stick to a consistent color palette across your timeline.

Create Stunning Visuals with the Latest After Effects
Unlock advanced VFX tools like 3D Camera Tracking, Rotoscoping, and Motion Graphics templates.
Get It NowStep-by-Step Guide to Applying Impactful Effects
🟣 Step 1: Set Up Your Composition
• Create a new project and set your desired resolution and frame rate.
• Import your footage, and organize elements into precompositions for easier management.
🟣 Step 2: Apply Key Effects
• Browse the Effects & Presets panel and drag effects onto layers.
• Add Glow, Motion Blur, and Frame Blending to make animations feel more organic.
• Use Gaussian Blur and Noise for a more realistic look.
🟣 Step 3: Refine with Advanced Techniques
• 3D Camera Tracking: Anchor elements to real-world camera movements.
• Rotoscoping: Isolate characters without a green screen using Roto Brush.
• Time Remapping: Create slow-motion or speed-ramping effects.
Best Practices for Professional Results
• Precompose smartly to simplify complex scenes.
• Use adjustment layers for global changes like color or blur.
• Don’t overdo it—keep effects intentional and subtle.
• Explore plugins from Red Giant, Video Copilot, Boris FX for more advanced needs.
• Stay updated by following VFX trends and learning from creators on YouTube and Adobe Live.
Try the official Adobe After Effects tutorials to reinforce your skills.
Additional Plugins and Resources
• Trapcode Suite: Particle systems and 3D effects
• Element 3D: Real-time 3D object rendering
• Optical Flares: Light and lens flare generation
• Motion Design School, Ben Marriott, AE Tutorials on YouTube for learning
• Adobe Community & Creative COW for troubleshooting and inspiration
Frequently Asked Questions (FAQ)
Mastering visual effects in Adobe After Effects unlocks a new world of creativity. By learning the basics, applying core techniques, and staying current with tools and trends, you’ll elevate your videos and stand out in the competitive digital space.
💬 Ready to start? Download a free trial of After Effects and bring your ideas to life.