


Table of Contents
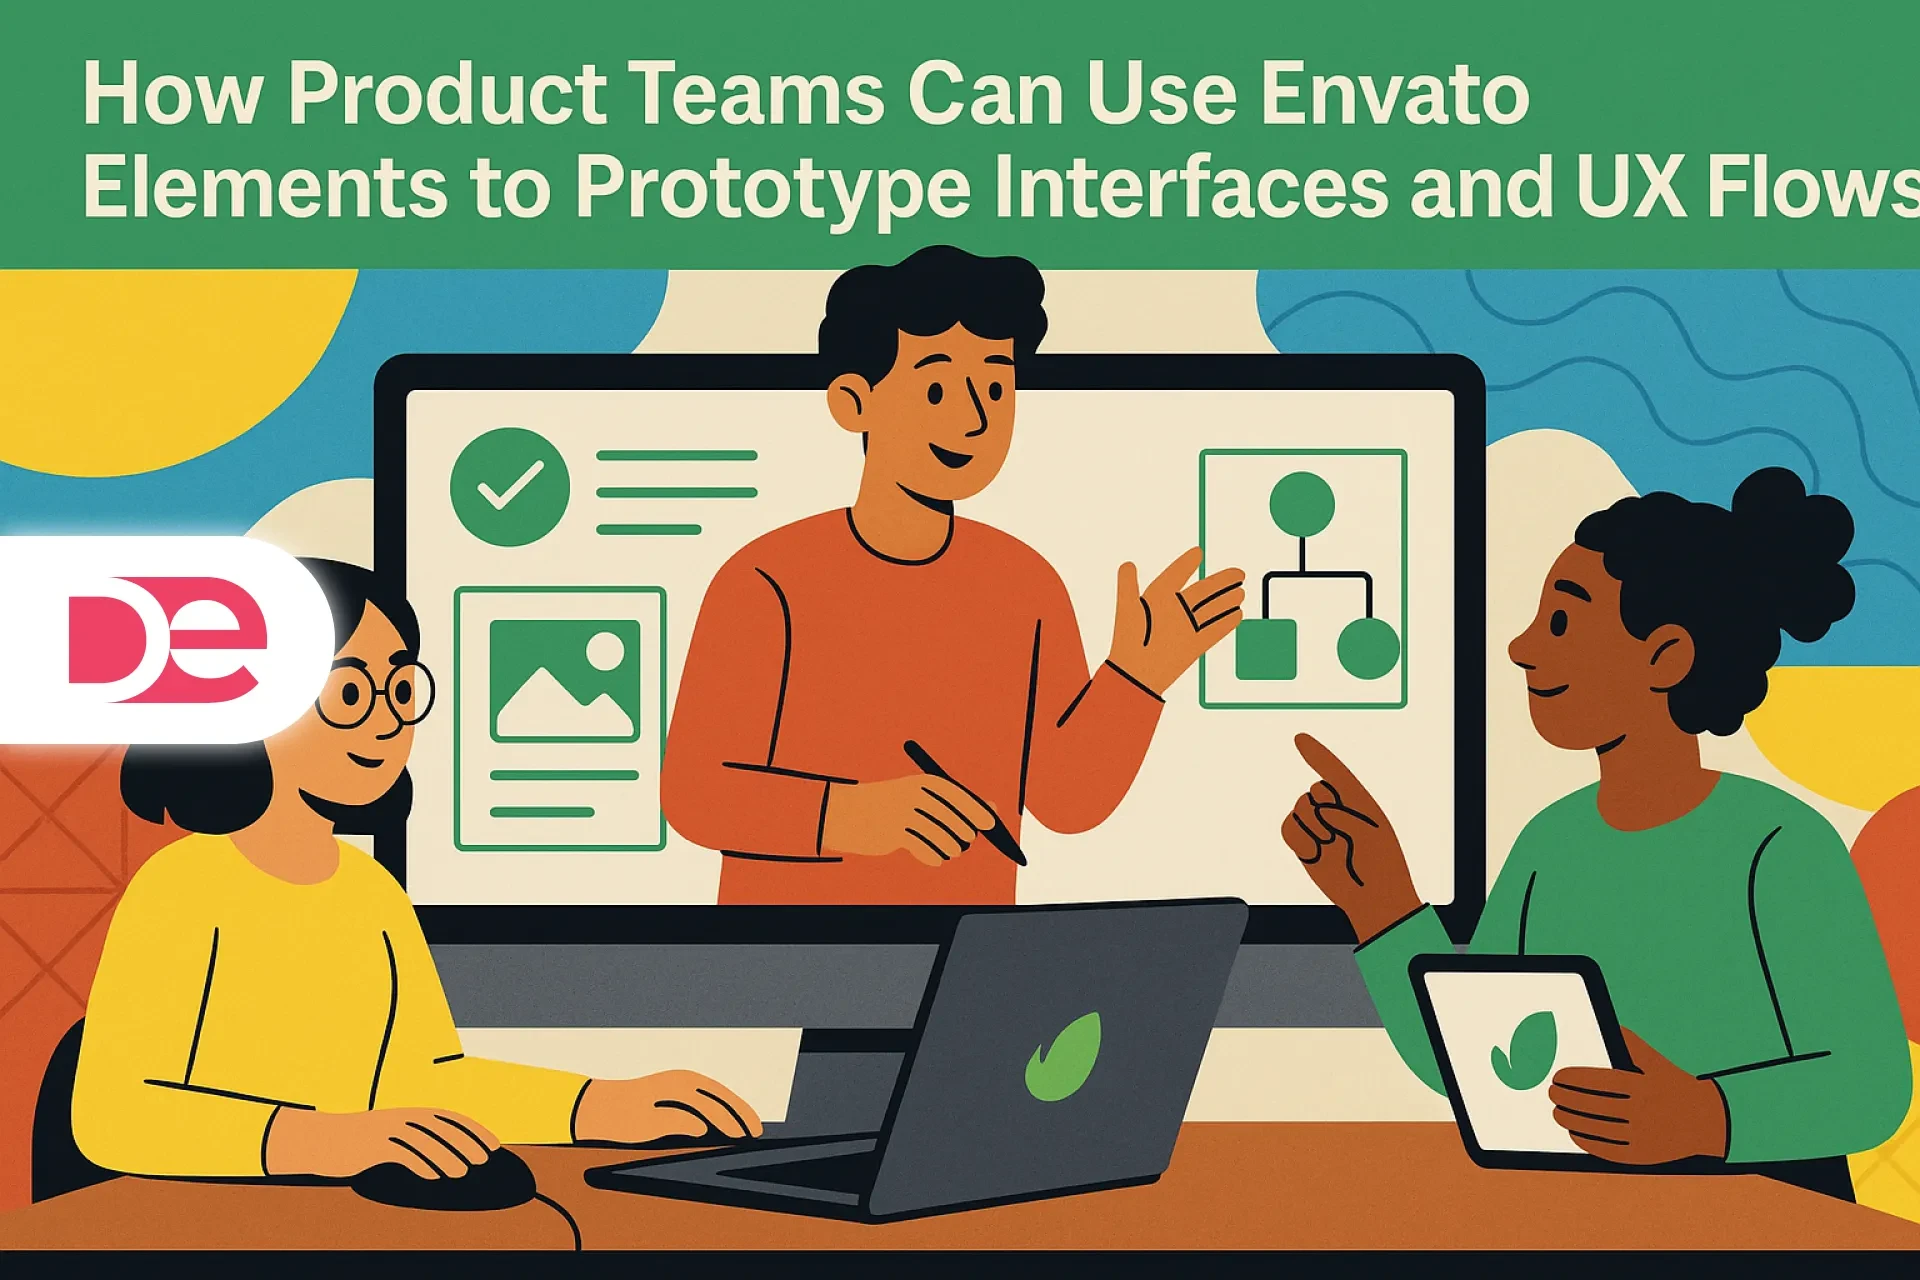
◉ Introduction ◉ What Is Envato Elements—and Why It Belongs in Your Product Design Stack ◉ The Strategic Role of Envato Elements in UX Prototyping ◉ Practical Framework: From Idea to Interactive UX Flow ◉ What to Download for UX Prototyping ◉ Stage-to-Assets Guide (Table) ◉ Mini Case Study: SaaS Onboarding in 5 Days ◉ Common Mistakes & How to Avoid Them ◉ Expert Tips for Product Teams ◉ FAQs: Envato Elements for UX & Prototyping ◉ Conclusion
Building a product interface today is a race against time and expectations. Stakeholders want clickable flows tomorrow, users expect polished experiences on day one, and your designers are context-switching between discovery, UX research, and design system maintenance. You don’t always have the luxury of crafting every button, card, and layout from scratch—and you don’t need to.
Envato Elements gives you an unfair advantage: a subscription library of premium UI kits, wireframes, icons, illustrations, mockups, and more that you can plug directly into your UX workflow. With unlimited downloads under a simple commercial license model, you can rapidly prototype realistic interfaces and end-to-end flows while keeping your team focused on solving real user problems instead of redrawing the same components.
In this guide, you’ll learn how to turn Envato Elements into a scalable prototyping engine—so you can move from idea to stakeholder-ready flows in hours, not weeks, without sacrificing usability, brand consistency, or development readiness.
What Is Envato Elements—and Why It Belongs in Your Product Design Stack
Envato Elements is an all-in-one subscription service that gives you access to millions of creative assets—UI kits, UX wireframes, icons, fonts, illustrations, mockups, and more—for a flat recurring fee.
For product teams, three things matter most:
• Unlimited downloads: You can explore multiple concepts, directions, and flows without worrying about per-asset fees.
• A unified license: Each time you download and register an item for a project, you receive a simple, ongoing commercial license for that single use (re-registration needed for new projects).
• UX-ready libraries: There’s a dedicated section for UI kits and UX & wireframe kits compatible with Figma, Sketch, Adobe XD, and more—ideal for fast prototyping.
Instead of reinventing foundational patterns, your designers can start from proven, well-structured layouts, then tailor them to your product, your users, and your design system.
The Strategic Role of Envato Elements in UX Prototyping
When you’re prototyping, you’re not just “making screens look pretty.” You’re:
• Testing information architecture (how content is organized).
• Mapping decision paths and edge cases.
• Validating copy, hierarchy, and interaction patterns.
• Aligning product, design, engineering, and marketing around one shared vision.
Envato Elements accelerates all of this by:
• Providing prebuilt flows (dashboards, onboarding, checkout, mobile apps) that you can adapt instead of inventing layouts from zero.
• Ensuring visual consistency across dozens of screens via professionally designed kits.
• Giving non-design stakeholders something tangible, polished, and testable very early in the process.
Used correctly, it’s not a shortcut for thinking—it’s a shortcut for repetition.
A Practical Framework: From Idea to Interactive UX Flow with Envato Elements
1. Start with Problems, Not Pixels
Before downloading anything:
• Clarify the user problem, the primary jobs to be done, and the success metrics.
• Map core flows: sign up, onboarding, search, purchase, upgrade, retention loops, support.
• Define constraints: platforms, breakpoints, accessibility goals, brand requirements.
This ensures Envato Elements becomes an accelerator—not a distraction.
2. Choose the Right UI & Wireframe Kits from Envato Elements
Head to the UX & UI Kits section in Envato Elements and filter by:
• Tool: Figma, Sketch, Adobe XD, etc.
• Platform: mobile apps, SaaS dashboards, e-commerce, marketing sites.
• Fidelity: low-fidelity wireframes for early mapping; high-fidelity UI kits for stakeholder-ready flows.
What to look for:
• Kits with clear grid systems and spacing scales.
• Components that resemble your product category (e.g., analytics cards for B2B SaaS).
• Multiple states (hover, active, error, success) to better simulate real behavior.
Download and register each kit for your specific project to stay compliant with licensing.
3. Build User Flows with Pre-Made Components
Import your chosen UI kit into your design tool and:
• Create task-based flows (e.g., “Create workspace,” “Invite team,” “Connect integration”) using existing components.
• Use wireframe kits to explore structure without visual noise; switch to UI kits when you need higher fidelity for buy-in or testing.
• Duplicate and adapt pre-built screens (dashboards, settings, billing, onboarding) instead of starting with blank frames.
Here, Envato Elements turns into a pattern library that lets you focus on logic and usability.
4. Apply Your Brand System—Without Losing Speed
To avoid “template-looking” products:
• Replace typography with your product’s primary and secondary font stack.
• Update color styles to match your design tokens (primary, neutrals, semantic colors).
• Swap generic illustrations, icons, and imagery with assets from Envato Elements that better match your brand voice—consistent visual storytelling, same source.
• Set everything as reusable components and variants so your team can scale new screens quickly.
You get brand consistency plus the velocity of ready-made design foundations.
5. Turn Static Screens into Clickable Prototypes
In Figma, Sketch, or Adobe XD:
• Link screens to simulate key journeys (sign up → onboarding → feature discovery → upgrade).
• Use microinteractions where it helps comprehension (e.g., hover states on CTAs, transitions between steps).
• Include multiple branches for real-world behavior: errors, abandoned steps, alternative paths.
Because your kit assets are already organized, linking flows becomes significantly faster—freeing time for user testing instead of wrestling with layout.
6. Validate with Stakeholders and Users
Share your interactive prototype and:
• Run quick remote tests with 5–8 users to validate navigation, clarity, and trust cues.
• Invite product, engineering, and marketing to comment directly in the file for alignment.
• Iterate fast: thanks to reusable components, global updates reflect across all flows.
Envato Elements gives you the visual depth to get realistic feedback early, which reduces change requests later.
What to Download from Envato Elements for UX Prototyping
Here are high-impact asset types that plug directly into your workflow:
• Multi-screen UI kits for web apps, mobile apps, and dashboards.
• Low-fidelity wireframe kits for fast structural exploration.
• Icon sets for consistent, recognizable actions and navigation.
• Illustration packs and empty-state graphics to clarify concepts.
• Device mockups for presenting prototypes to stakeholders and clients.
• Design system-style libraries including buttons, inputs, modals, cards, tables, and navigation.
Choose assets as if you’re curating your own internal design system starter.
One-Glance Guide: Matching Prototyping Stages to Envato Elements Assets
| Prototyping Stage | Recommended Envato Elements Assets | Primary Output |
|---|---|---|
| Discovery & Mapping | Wireframe kits, simple UI frameworks | Low-fidelity flows & page architectures |
| Mid-Fidelity UX Design | Category-specific UI kits, icon sets | Clickable user journeys & feature flows |
| High-Fidelity Mockups | Full UI kits, illustrations, mockups | Stakeholder-ready visuals & testable UIs |
| Handoff Preparation | Consistent kits + documented components | Spec-ready designs for engineering teams |
Use this as a repeatable internal playbook.
Mini Case Study: A SaaS Team Prototypes a New Onboarding in 5 Days
Imagine you’re on a B2B SaaS team shipping a new analytics product.
Day 1 – Define & Map
You map the onboarding goals: help users connect a data source, explore a sample dashboard, and see value in under 5 minutes.
Day 2 – Wireframe with Envato Elements Assets
You grab a dashboard-focused wireframe kit plus a sign-up flow kit from Envato Elements, registered for this project. In a few hours, you sketch three variations of onboarding: guided tour, checklist, and sample-data-first.
Day 3 – High-Fidelity Direction
You download a modern SaaS UI kit, adapt the color palette and typography to your brand, and plug in realistic cards, charts, and navigation. No time lost redrawing tables or grids.
Day 4 – Clickable Prototype & Feedback
You build an interactive flow covering happy path + errors (connection failed, missing permissions). Product, success, and engineering review in one session; comments are implementation-focused, not about “making it look less generic.”
Day 5 – User Testing & Final Adjustments
You run quick usability tests with target users. Adjust copy, tweak hierarchy, clarify tooltips—your kit-based system makes updates instant. Engineering receives a clear, coherent flow.
Result: A validated onboarding experience in days, powered by Envato Elements as your design multiplier.
Common Mistakes Teams Make (And How to Avoid Them)
Even with powerful assets, teams slip. Watch for these:
• Depending on templates without aligning to real user needs. Always start from research, not aesthetics.
• Mixing too many kits in one product, leading to visual inconsistency. Limit your core kit set and systematize.
• Ignoring licensing basics. Ensure each download is registered to a concrete project; re-register for each distinct use.
• Letting only one designer “own” Envato Elements decisions without team visibility. Treat it like shared infrastructure: curated, documented, intentional.
• Skipping accessibility: adjust contrast, font sizes, hit areas, and semantics; kits are a starting point, not a finished accessibility strategy.
When you use Envato Elements as a component engine instead of a visual crutch, your prototypes stay user-centric and production-ready.
Expert Tips to Get More Out of Envato Elements in Product Teams
Use Envato Elements like a mature design organization would:
• Create an internal “approved kits” library: a shortlist tested for your category, platforms, and brand fit.
• Convert kit components into your design system tokens (colors, typography, spacing, shadows).
• Use Elements to explore radically different directions early (e.g., minimalist vs. data-dense dashboards) without ballooning design hours.
• Leverage illustrations and mockups from the same ecosystem to present flows inside realistic devices and environments.
• Re-download and re-register assets when repurposing designs for new products or clients to stay aligned with license terms.
• Review new UI kits periodically—Envato Elements’ catalog evolves, and fresh kits can inspire better patterns.
Think of Envato Elements as a living extension of your design system and prototyping toolkit.
FAQs: Envato Elements for UX & Prototyping
Conclusion: Turn Envato Elements into Your Competitive Prototyping Engine
If you’re under pressure to ship better experiences faster—and every product team is—Envato Elements lets you close the gap between idea, interface, and implementation.
You’re not just buying assets. You’re unlocking:
• Faster validation of new features and flows.
• More realistic prototypes that win stakeholder trust.
• A consistent visual and UX language built on top of proven foundations.
• More time for your team to focus on what actually matters: solving real user problems.
Your next step is straightforward: define one core flow you need to improve, choose a focused UI or wireframe kit from Envato Elements, adapt it to your brand, and build an interactive prototype this week. Once the team feels that acceleration, Envato Elements will stop being “a marketplace” and become one of your most valuable product tools.


